

There’s a reason why teachers and youth leaders keep emergency art projects on hand. Sometimes the original plan doesn’t work out on the fly. You didn’t factor in the time needed to set up your activity. Maybe it rained and the outdoors are off-limits. Or maybe you had a crowd of kids show up who had way more energy than you anticipated. An open-ended art project can save the day, but only if you have the right supplies.
Why Start With One Craft?
It’s much easier to put together a fun activity when you’re starting from a single point of reference. Instead of looking for ideas for every art project, try picking a craft and finding the supplies that go along with it. That way, you can put together a collection of things that will work for one particular craft.
A Collage Station Encourages Quick Decisions
The beauty of collage is that it requires little concentration. You can tell the participants to grab a sheet of construction paper and begin selecting pieces to glue down. There is no pressure to create anything perfect or even to stick to a theme.
If you want to incorporate a theme, pair materials that contrast nicely:
- Card stock or thick paper in a few colors
- Papers, magazine pages, tissue paper, or scrapbook paper
- Stickers, cut-outs, and small plastic or fabric embellishments
- Glue sticks, scissors, and black markers
Give your station a prompt like “future dream house,” “your favorite place,” or “feelings in images only.” Instead of keeping the supplies in their packaging, put them in trays so they can see all the options. This makes it easier for people to dive in.
Before setting up the station, make sure there is plenty of room for everyone. You need to be able to sit comfortably and cut with safety scissors. If there isn’t enough room at the tables, you could have a paper prep station where you’ve already cut out shapes.
Wearable or Reusable Projects Feel More Significant
Painting tote bags or t-shirts feels more significant than making paper crafts because people can actually use what they make. It also lends itself well to larger groups that include people of different ages. Children might stamp simple designs, while adults can add lettering or draw.
Fabric paint, fabric markers, iron-on decals, stencils, and tote bags or white t-shirts are the basic supplies needed (the current stock is listed at www.upsidedownsupply.com). You can theme it loosely by asking people to make a design representing a favorite place, a slogan, a school spirit logo, or a pattern inspired by nature.
This might be a bit much if your program is less than an hour long and you need everyone to be done and dry by the end of the program. Some fabric materials need to be air-dried or ironed to set, so you might need to swap these out for paper tags or fabric patches instead.
It can be helpful to do a quick demo at the beginning of the session. Demonstrate how to put cardboard inside of a tote bag or t-shirt so that the paint doesn’t bleed through to the back. After that, give people free rein to start designing.
Take-Home Kits Need a Specific Purpose
If you run a youth program, handing out craft kits can extend your art activity beyond the program meeting. The trick is to avoid giving out kits that feel like a grab-bag of everything except the items needed to complete a craft. Kits that have a specific purpose are more likely to be used.
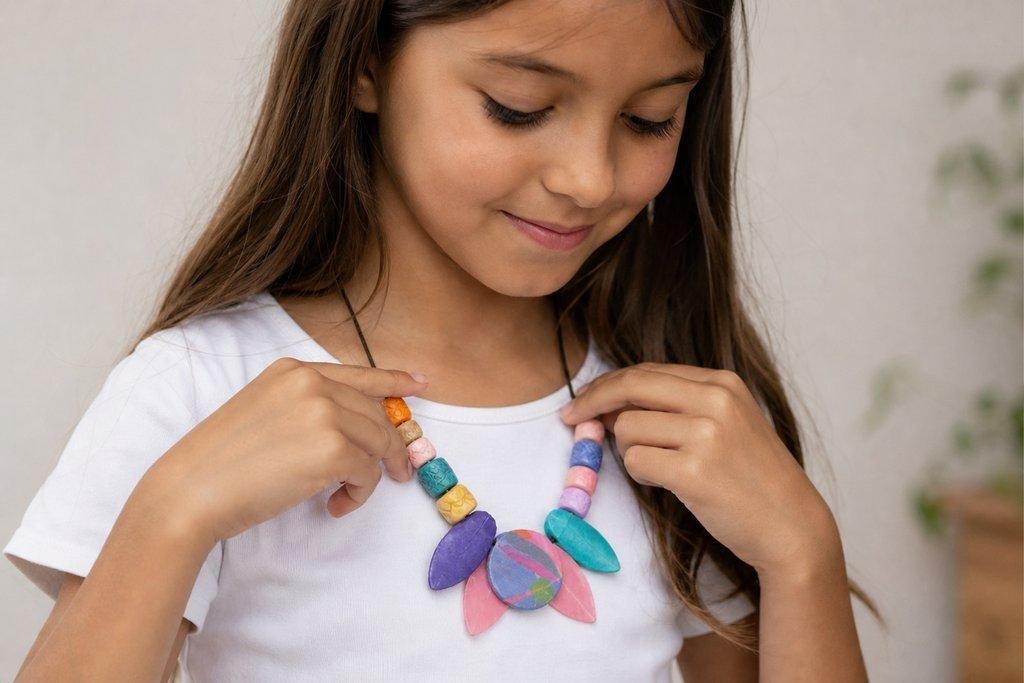
Make kits based on a small project, like a book cover, a set of friendship bracelets, a window cling, or a small animal figurine. Include the main components, some additional accessories, and a note with instructions and a sample of the first step.
Small beads, sequins, and glitter should be kept in individual zip-top bags or lidded containers. These tend to get lost or spread everywhere if you toss them in a bag with other supplies.
If you expect younger children to take kits home, check for small part restrictions and any age requirements, something Mayo Clinic walks through at www.mayoclinic.org/healthy-lifestyle, for your program before distributing the kits.
If you want to have a true ‘last minute’ activity, give each table a little caddy of supplies instead of having everything in one big pile. That will save time as well as space.
Make sure there is some kind of designated ‘finished work’ area, too, so your creations don’t get lost or mixed in with the supplies.
Let the Materials Dictate the Pace
An emergency creative rescue session doesn’t need a ton of materials or a lot of planning. Just pick a craft, select a handful of complementary materials, and set up an activity that encourages making choices early on.
Pick one of the projects above, count how many people will be coming, and do a test run with a few extra supplies before ordering.